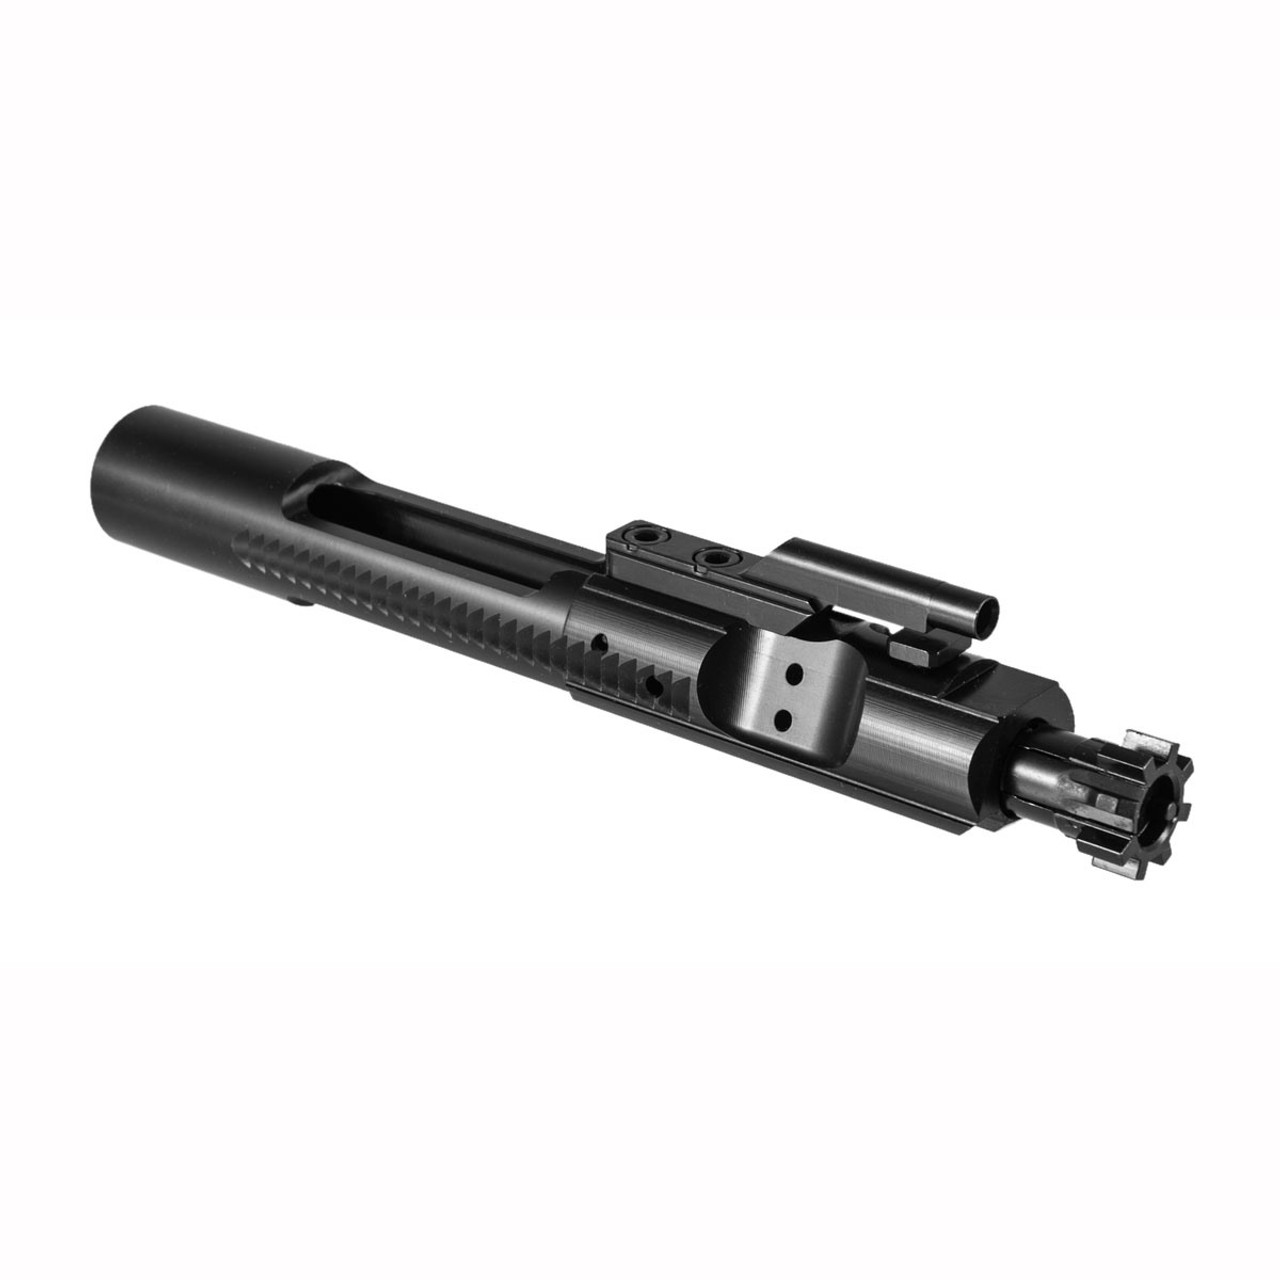
How To Clean Your AR15 Bolt Carrier Group
So you’ve had your AR-15 for a while now. You’ve taken it to the range, maybe the desert, most likely sat untouched for a while due to the ammo scarcity… so it’s collected a good amount of grime. Have you cleaned the bolt carrier group yet? The first time is always the most daunting but it’s actually incredibly easy and intuitive. We totally get it, the BCG is one of the most crucial parts to a rifle and how to take it apart doesn’t look obvious at first.
Let’s get you comfortable with that so you can avoid some rifle malfunctions in the future as some of the most common malfunctions come from the extractor.
Components of the Bolt Carrier Group

Before we dive into the assembly process, take note of the bolt carrier group’s key components because there are a few.
- Bolt Carrier
- Bolt
- Firing Pin
- Cam Pin
- Firing Pin Retaining Pin/aka Cotter Pin
- Charging Handle
Technically, the charging handle is not a component of the bolt carrier group. However, you’ll need to pull it back to take the BCG out of the upper receiver after separating it from the lower receiver.
Do I Need Tools to Finish the Bolt Carrier Group?
Yes, you need at least one tool on hand to finish the bolt carrier group. That tool is a tiny screwdriver. Simple, right?
You do not require any specialized equipment—but some cleaning materials would be good:
When choosing lube we like FIREclean, Pig Lube and RemOil for when we’re in a hurry (it’s all preference). It helps to have some gun cleaning patches and Q-Tips on hand as well.
Disassembly and Cleaning

- First, make sure your firearm is unloaded without a magazine or a round in the chamber.
- Push out the pin in your lower receiver to detach it from the upper receiver.
- Now that your internals are exposed, pull back on the charging handle to pull out the bolt carrier group.
- Using a tiny screwdriver or any other tool on hand, remove the cotter pin or firing pin retainer and you’ll be able to let the firing pin slide out. (This is located on the shooter’s left side of the carrier where there is an obvious circle with a pin in it)
- If the firing pin is stuck, just hold the BCG upside down and give it a light tap.
- Next up is the cam pin. Push the bolt back, and rotate the cam pin 90 degrees (now under the gas key) and it will pop right out.
- You can then pull out the bolt and direct your attention to the extractor.
- So what you’ll need to do is push out the pin holding the extractor in and because it’s so small, be careful to not lose it!
- Time to clean. Assuming it’s very dirty you might need a nylon gun cleaning brush to agitate the grime so it can fall off the parts more easily. If cleaning patches aren’t strong enough, opt for a good old tough rag. If it gets too dry you can use RemOil or Hoppe’s Gun Cleaning Foam to help make the job less difficult.
- After you’re done cleaning, apply lube or oil (up to your preference) generously, but not excessively, to all the parts you just took apart. The cam pin in particular needs to be lubed up entirely.


Reassembly

Now do everything you just did, but backwards.
- First, insert the bolt into the carrier with the small or flared side facing outward.
- Rotate the bolt inside of the carrier until the large opening aligns with the bolt carrier opening underneath the gas key.
- Next, insert the cam pin through the bolt carrier opening and through the bolt itself. You want the flat bar on top of the cam pin to line up with the bolt carrier.
- Pull the bolt back and rotate the cam pin 90-degrees.
- Drop the firing pin in the opposite end of the bolt carrier, then press it down to ensure it seals properly.
- Insert the firing retainer pin (aka cotter pin).
- The bolt carrier group is complete; before continuing lightly apply your oil/lube across the entire BCG but especially the contact/wear points.
- Hook the BCG back onto the charging handle and into the upper receiver once it’s been aligned correctly.
- Rejoin the upper and lower receivers back together, push the retaining pin back into the lower receiver.
- Press the bolt release button (you might have to pull the charging handle back one more time for good measure) and you’ll hear the very audible click as the bolt slams back into place… and you’re done.
Congratulations! Your BCG is clean and back in your rifle where it belongs.
If this is your first bolt carrier group assembly, know that it gets easier with time and experience. Before long, the whole process might take you only a few minutes (depending on how dirty you let it get).
Did we do a good job teaching you? Are you ready to get your hands on an 80% AR-15 build? If not, please consider doing so! We have several tutorials with clear instructions to guide you through the process and there are many benefits to 80% lower receivers, so pick yourself up one today!


