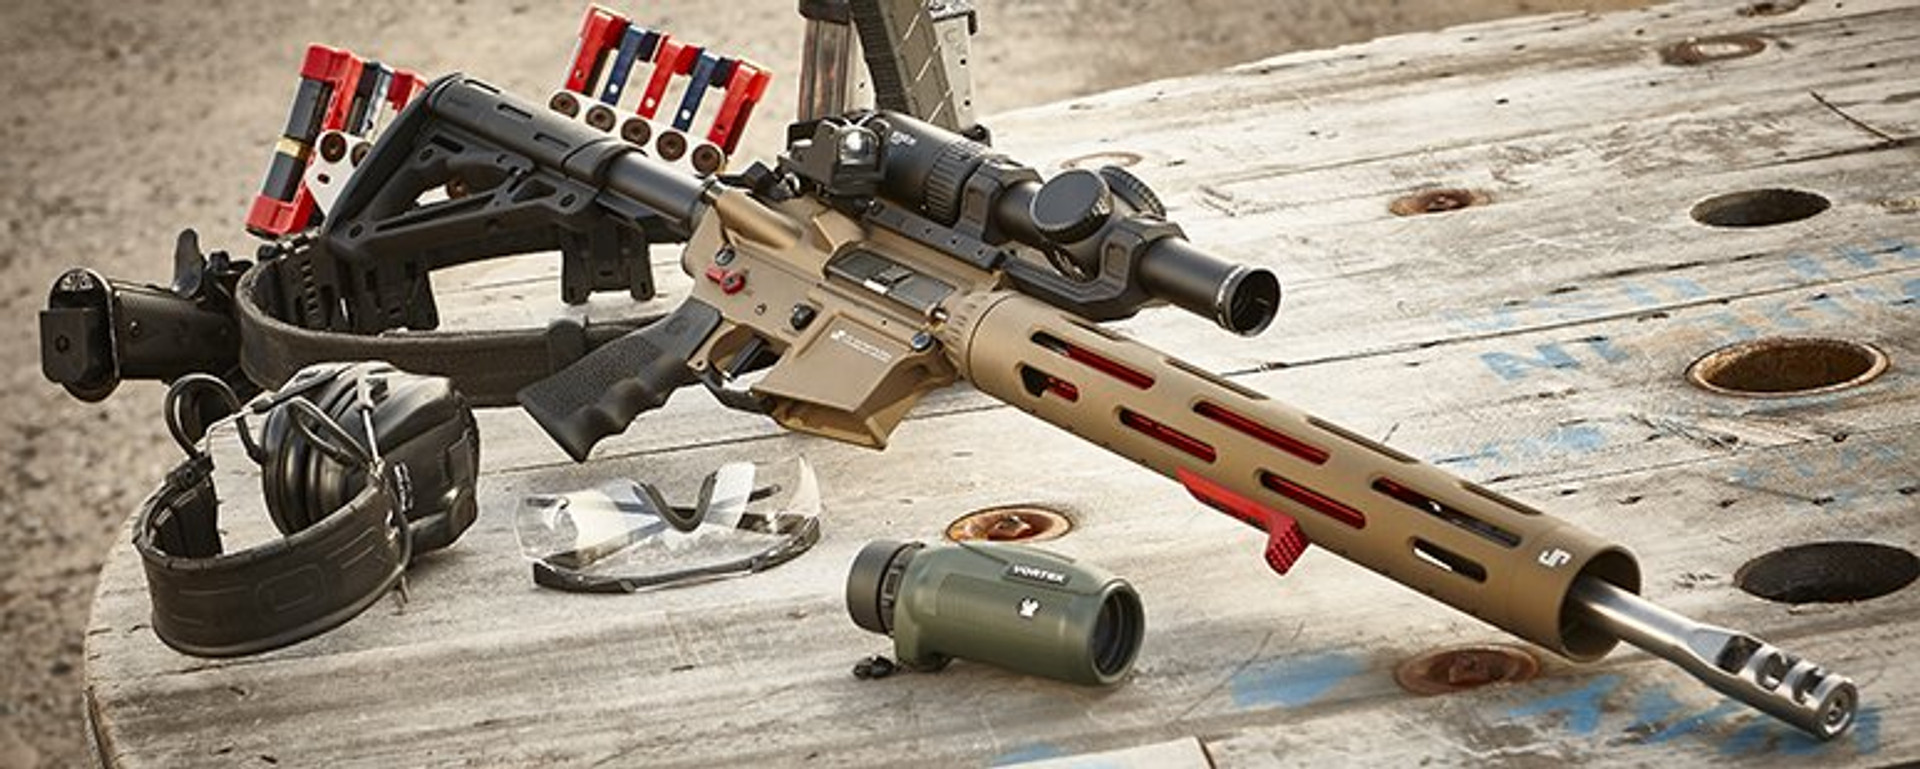
How To Build A Race Gun
So you want to go to the races huh? Well the first step is to have money. HAHA, just kidding. But competitions are no joke — they’re a whole different beast and industry all on their own compared to duty or concealed carry culture. This is our advice on how to build your own 80% AR-15 competition rifle from beginning to end.
Begin With The End In Mind
Like how all successful people will tell you; if you’ve got a goal in mind you should backwards engineer it to figure out how to turn an idea into a reality. Find a dream race gun build that you love and inspires you. Then, work backwards from there to find out how you can emulate or build something similar that fits within your budget. So for our purposes we’ll use the JP Enterprises JP-15 as an example (arguably one of the fastest guns around that money can buy).
Some Gassy Considerations

So what makes an AR-15 great for competition? Well, it’s got to shoot flat with minimal muzzle rise when firing, be as lightweight as possible and have a fantastic trigger. Let’s look at what some of the best brands in the rifle making business all have in common. If you consider at Aero Precision, BCM, Daniel Defense, JP Enterprises, Sons of Liberty or Triarc, all their barrels’ gas ports have different sizes. But what they’ve all done is found a balance between reliability and performance with their different designs.
It’s quite simple — the bigger the gas port is, the more gas is sent back to cycle the BCG. The smaller it is, the less gas there is. Smaller holes may offer a cleaner or smoother shooting experience but it may not be as reliable with all the different .223 or 5.56 factory loads out there.
The larger the hole is, the more brands and various loads your rifle will be able to reliably take. Daniel Defense, for example, is known for being an overgassed gun but it’s also known for its extreme reliability and ability to use whatever bullets it’s fed.
If you’re concerned about how gassy your system is. There are ways to remedy that while ensuring performance too. Heavier buffer springs or heavier buffer weights can combat the overgassiness to balance out the violent action of the BCG cycling back and forth. However, if the variables are that concerning, you could also opt for an adjustable gas block to fine tune your settings.
To take the extra consideration and research out of the equation, another option is to buy a completed upper which would be safer in guaranteeing your rifle’s performance and reliability.
In brief summary; it’s important to understand that every barrel has a gas port and depending on the brand it’s going to vary in size and performance.
What Parts to Buy?

So let’s get the obvious parts out of the way. Your pistol grip, buttstock, and any ergonomic enhancing accessories are going to be subject to preference and legal restrictions. With these suggestions, keep the Marine mentality of how “ounces lead to pounds and pounds lead to pain” in mind:
- Start with your lower receiver caliber. We’ll assume you want one for an AR-15 but we also carry fantastic lower receivers for AR-9 and AR-10 builds in a variety of popular colors.
- Based on your lower receiver caliber, choose a compatible upper receiver.
- Pick a handguard/rail system that suits your style. We recommend looking at M-LOK or Keymod variants for their lightweight and ergonomic designs which are plentiful in options.
- Pick a barrel for your desired caliber. A good example would be any of Aero Precision’s enhanced lightweight barrel options for maximum weight reduction. For .223 Remington, 5.56 NATO and .300 Blackout builds we carry 1:8 barrel twist rates in our complete uppers but you’ll most likely find other companies carrying 1:7 twist rate barrels which is also fine. In terms of length, we recommend a 14.5 barrel so that with a pinned muzzle device, you would not have to worry about legal lengths of your rifle in any state but it’s also a very optimal setup in terms of barrel length and overall weight. A longer gun would obviously get real heavy real quick. A shorter setup might not be as easy to control with less rail to hold onto especially when attempting long distance shots.
- Choose a muzzle brake or your desired muzzle device for maximum recoil reduction and control. You might not be able to afford the JP-15, but maybe you can get their muzzle brake instead.
- Don’t forget to get a quality bolt carrier group. Most BCG’s are made by Toolcraft but if you want to get one branded by Aero Precision of BCM, you can’t go wrong with either company.
- This is the part that’s going to hurt the most — make sure you pick up appropriate optics that will allow you to engage short and long distance targets. A typical rifle match will usually include targets as far as 300 yards out. We recommend you to get the best LPVO (low powered variable optic) that your wallet can take along with a canted red dot sight or iron sights as a backup or for engaging close up cardboard targets.
- Last but not least, choose a single stage lightweight trigger. If you’re on a budget, you can’t beat CMC’s single stage 3.5 lb. drop-in trigger. But if you’ve got a little more to spend you could consider something from Geiselle. They have triggers as light as 1.5 lbs. Typically 3 lb. will be a safer bet so find a trigger around that weight and in a shape that you prefer. If you want to experiment with something really wild, check out JP Enterprises’ Armageddon Revolution Roller Trigger.


